 blog
How to Plan Water Softener Installation in Miami-Dade
Last Updated: November 9, 2026
Quick Summary
Water softener installation in Miami-Dade starts with testing your water hardness, then sizing the system to your hardness, household size, and daily water use before buying equipment. A licensed crew confirms your plumbing layout and water pressure, then handles the tie-in, flush, programming, and walkthrough.
- Test your water before buying, since South Florida supply varies from property to property.
- A written quote should itemize equipment, labor, permit fees, plumbing modifications, and startup.
- Installation follows seven steps, from water testing to a walkthrough of settings and salt loading.
- Check salt levels monthly and clean the brine tank once or twice a year.
- Confirm who pulls the plumbing permit and who is on site for the inspection.
Table of Contents
- Start With a Hardness Test and Water Softener Sizing for Home
- What Drives Water Softener Installation Cost
- The Water Softener Installation Process, Step by Step
- Water Softener Maintenance and Post-Installation Support
- Frequently Asked Questions
Start With a Hardness Test and Water Softener Sizing for Home
Water softener installation in Miami-Dade starts with one step most homeowners skip: testing the water before buying anything. South Florida's supply varies enough from property to property that a system sized for a neighbor's house may be wrong for yours. Testing first, then sizing the unit to your actual hardness, household size, and daily water use, is the sound approach to choosing a system. A quick hardness test tells you what you're treating before you spend a dollar on equipment.
Sizing follows the math, not the sales pitch. A small condo and a five-bedroom house need different capacities; oversizing wastes money while undersizing lets hard water slip through. Licensed crews should confirm your plumbing layout and water pressure before recommending a system.
What Drives Water Softener Installation Cost
Water softener installation cost depends on several variables: equipment type, plumbing configuration, permit and inspection requirements, and labor. A salt-based ion-exchange softener, a salt-free conditioner, and a combination softener-plus-filtration unit carry different equipment costs, and a whole-house tie-in on existing copper or PEX runs differently than a retrofit needing new lines, a dedicated drain, or a relocated shutoff.
A written quote should itemize, at minimum:
- Equipment (tank, resin, brine tank, control head, bypass valve)
- Labor for the plumbing tie-in and electrical connection
- Permit fees and inspection costs, if the jurisdiction requires them
- Any plumbing modifications (new drain line, pressure-reducing valve, loop)
- Startup, programming, and a walkthrough
Total cost of ownership matters more than the install price. Over the life of the unit, budget for:
- Salt: salt is an ongoing cost, and prices vary by retailer and season.
- Electricity: regeneration and control-head draw is modest but not zero.
- Maintenance: an annual service check and occasional resin or control-head repair.
- Water and sewer: regeneration uses water, and in some utility districts the backwash volume is metered.
- Replacement: resin beds and control heads have finite service lives, so plan for a mid-life refresh.
Pricing depends on your setup, so a responsible installer quotes after the water test rather than guessing over the phone. Ask for the quote in writing with the line items above separated, and confirm whether permit fees are included or billed separately. For a closer look at what a softener removes and how it protects your plumbing, see our water softener service before you commit.
The Water Softener Installation Process, Step by Step
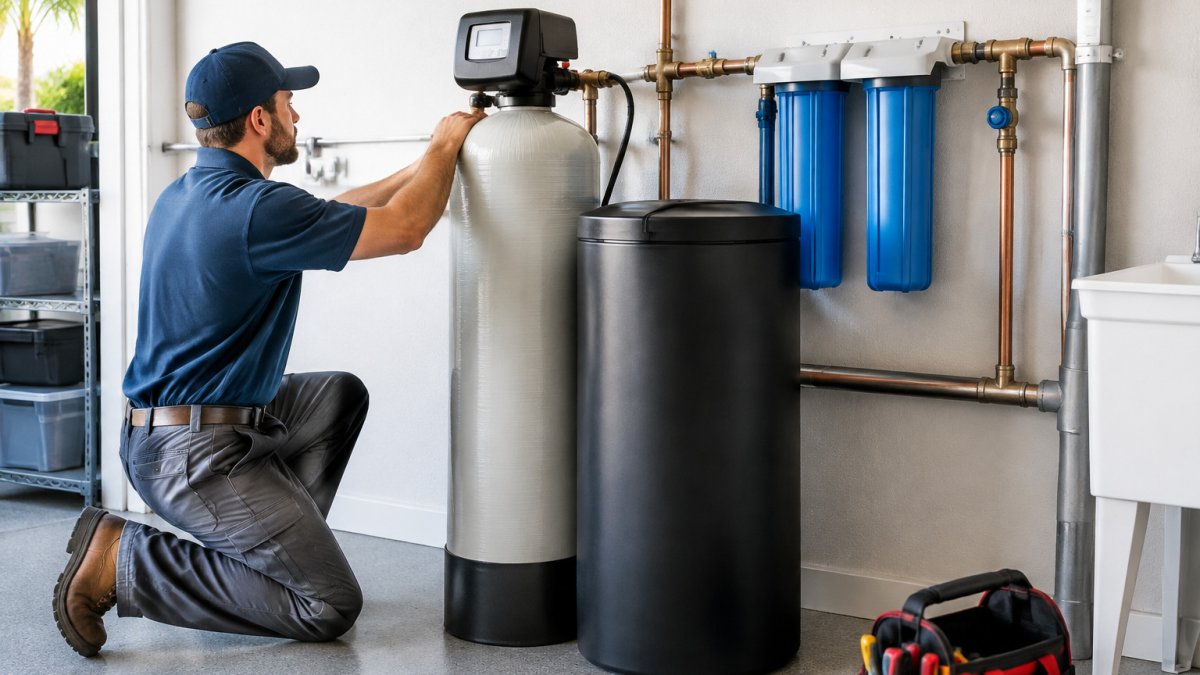
Here is how a professional installation typically runs, from first test to first softened shower:
- Water testing and system sizing to confirm hardness and daily demand.
- Site survey of the main line, shutoff valves, and drain access.
- Equipment placement for the softener tank and brine tank.
- Plumbing tie-in with bypass valves for future service.
- Flush and pressure check to verify no leaks.
- Programming the control head for your household's usage.
- Walkthrough of settings, salt loading, and what to expect.
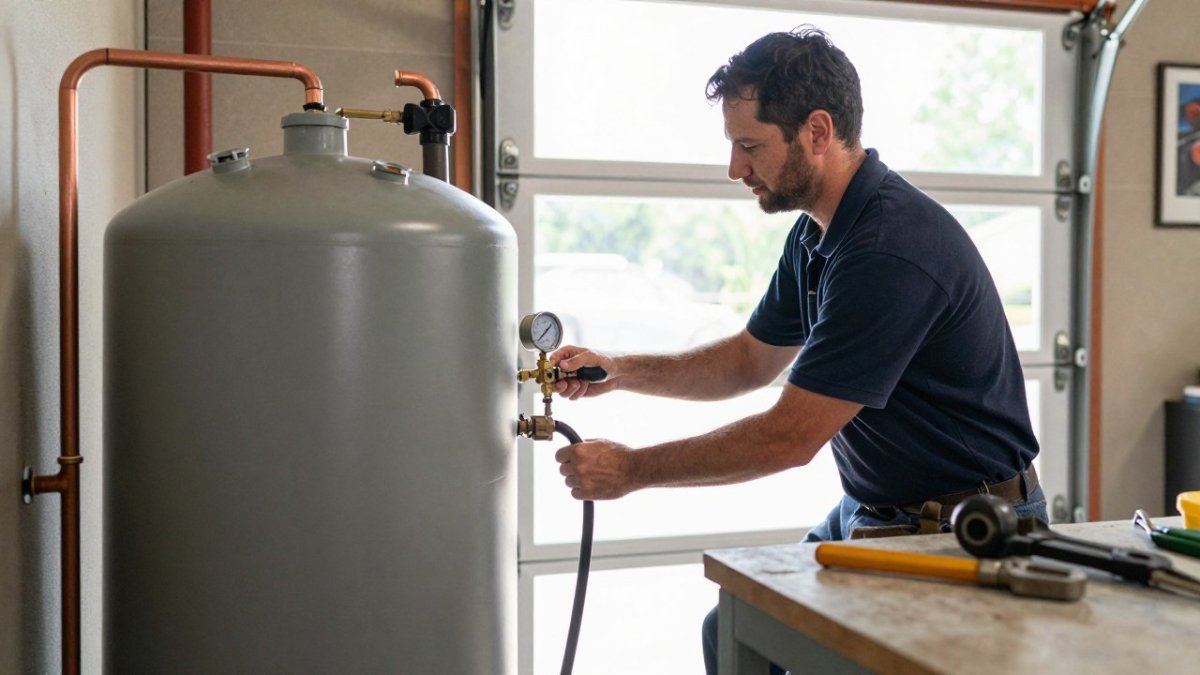
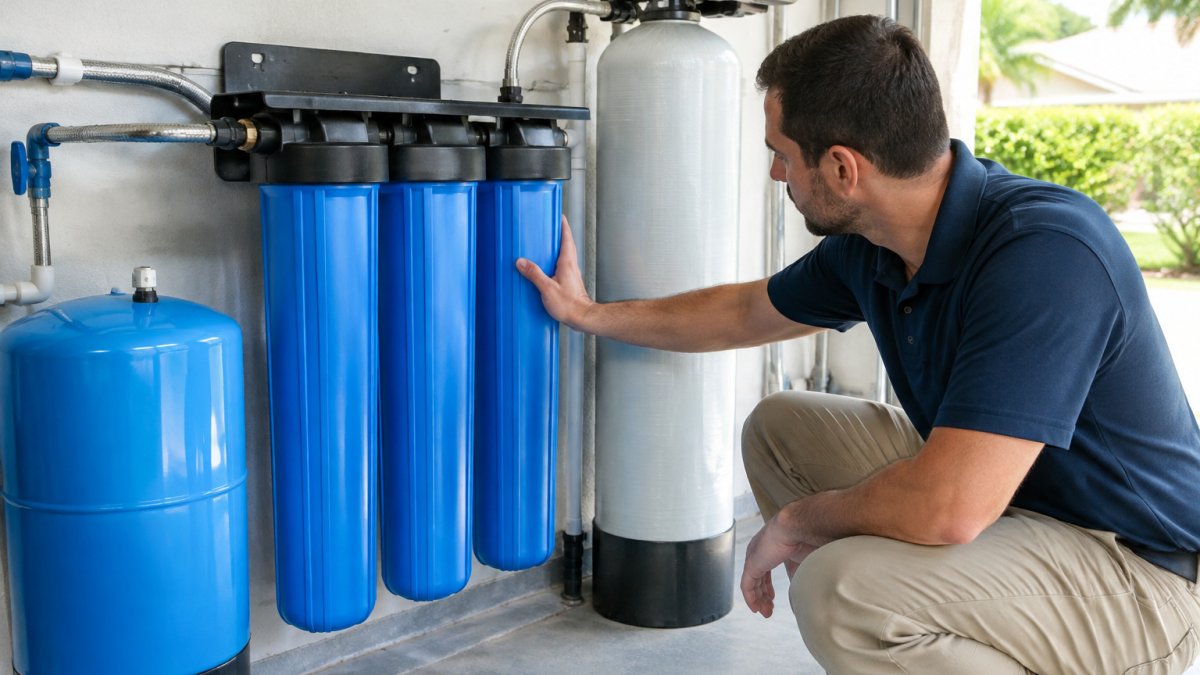
Installation timing depends on your setup and is confirmed when your system is scheduled. You can browse recent installations to see how completed systems look in local homes.
Here is the sequence a professional installation typically follows, from first test to first softened shower.
| Step | What happens |
|---|---|
| 1 | Water testing and system sizing to confirm hardness and daily demand |
| 2 | Site survey of main line, shutoff valves, and drain access |
| 3 | Equipment placement for softener tank and brine tank |
| 4 | Plumbing tie-in with bypass valves for future service |
| 5 | Flush and pressure check to verify no leaks |
| 6 | Programming the control head for household usage |
| 7 | Walkthrough of settings, salt loading, and expectations |
Water Softener Maintenance and Post-Installation Support
Water softener maintenance is simple but not optional. Check salt levels monthly, add salt before the brine tank runs low, and clean the brine tank once or twice a year to prevent buildup. Most systems need an annual professional service check to confirm the control head is regenerating correctly and the resin bed is still working. Skipping salt refills lets hard water return without warning, and homeowners often blame the system when the real issue is an empty brine tank.
Before you sign, verify the installer on the details that decide whether the unit is serviceable in year five:
- Permits and inspection: many jurisdictions require a plumbing permit for a whole-house tie-in, and the work may need an inspection before the system is placed in service. Ask who pulls the permit and who is on site for the inspection.
- Licensing and insurance: confirm any required plumbing license and general liability coverage, and ask whether the crew is employees or subcontractors.
- Warranty: compare coverage on the control head, resin tank, and brine tank separately, and note whether labor is covered.
- Service response: ask who services the unit in two years and what the typical response time is for a no-soft-water call.
- Maintenance plans: some installers offer annual service plans; compare any plan price against paying per visit.
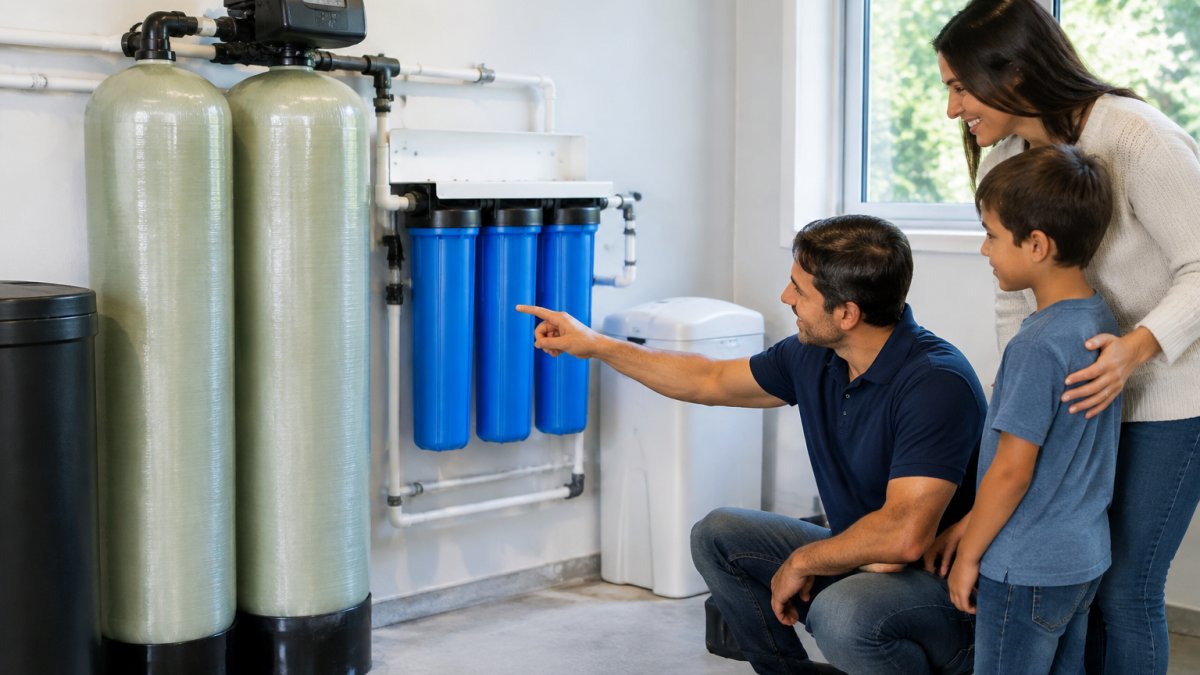
For the post-installation walkthrough, confirm the bypass valve operates, the drain line is secured and air-gapped, and the control head is programmed for your household size and hardness, and get the model and serial numbers in writing. Ongoing maintenance tips and water quality news help you stay ahead of problems.
Planning a softener without a water test is guesswork, and guesswork is how homeowners end up with the wrong-sized system or a unit nobody services. Hummingbird Water tests your water, sizes a custom system to your home, and installs it with our own crew using NSF-certified components, never subcontractors. Get started with Hummingbird Water and enjoy cleaner water at every tap.
Frequently Asked Questions
How much should water softener installation cost?
Water softener installation cost depends on system size, the plumbing work your home needs, and whether a bypass loop or drain line must be added. Because Hummingbird Water sizes every system after a water test, the quote reflects your actual household demand rather than a one-size package. Book an appointment for a current quote instead of relying on a generic national average.
How do I know what size water softener my home needs?
Water softener sizing for home depends on two numbers: water hardness in grains per gallon and daily household water use. Multiply the number of people by average gallons used per person, then multiply by hardness, and add a reserve for regeneration days. A 2,000-square-foot home with four residents needs more capacity than a condo with two. Testing first prevents paying for capacity you will never use or buying a unit that runs out of soft water mid-week.
How long does the water softener installation process take?
Installation time depends on the system and the install point, which is confirmed after sizing. The water softener installation process includes shutting off supply, mounting the tank, connecting inlet and outlet lines, running the drain, and programming the control valve. Older homes with tight plumbing or no existing loop can take longer. Hummingbird Water installs with its own professional crew.